

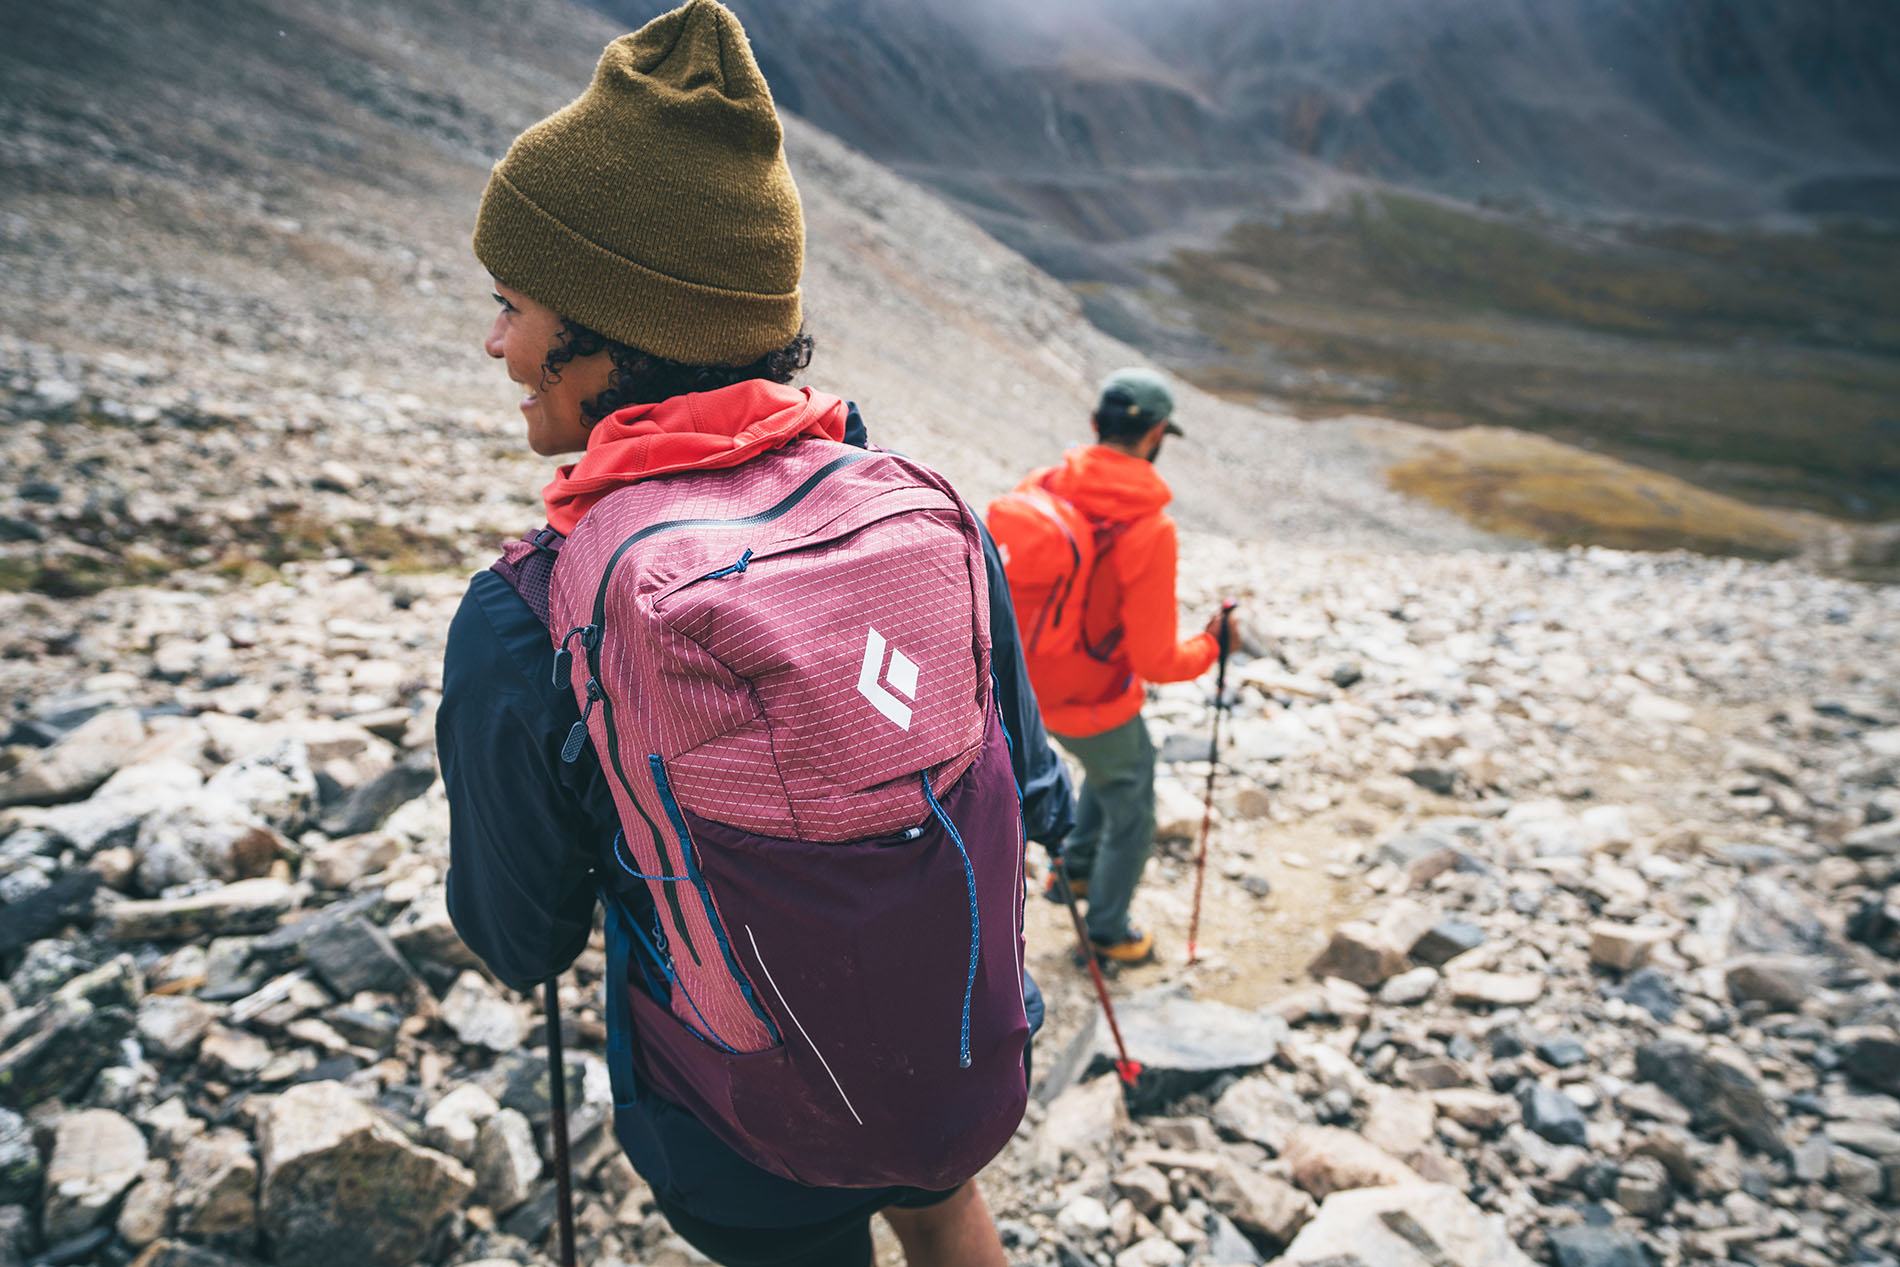
Earlier this year I was introduced to Garmin’s flagship watch, the Fenix 6 Pro, during a 3-day hiking and peak-bagging trip in the Cederberg mountains. I was immediately intrigued, then fascinated, then staggered by the sheer ‘tech power’ of this device and how much it could actually do in terms of data storage and delivery, and of course navigation and tracking.
But where does one start with a review on a piece of kit that has so much to offer? One could write a small book on what the 6 Pro can do and how to operate and find your way through all the functions. But that is the beauty of YouTube. Here you will find tutorials on just about anything and everything the Fenix was designed to do and also what it can do for you in your specific field, whether its running, cycling, hiking or mountaineering. Not for rock climbing per se, on a vertical wall, though; this is something that still needs to be addressed and perfected in any tracking device, as well as ‘GPS fall-out’ when moving around steep rock walls.
As I said, the Fenix 6 Pro can do way more than you think, and indeed more than you even expect from it. This includes a whole range of ‘Activity Data’ like distance, time, average speed, calories burnt, heart rate, elevation gain and descent. As well as a host of other data like weather information, sunset and sunrise times, steps climbed, floors climbed, and lots more. You can also sync to your smart phone’s music.
But to include everything in one review would make this a long and complex article. Most of the information you need can be accessed by watching simple YouTube tutorials. What I am going to concentrate on in this review is how the Fenix 6 Pro operates in the mountains. In my day to day work as an author of climbing and hiking guidebooks, I am continually traipsing across mountains, sometimes on trails, and often off-path. My research entails finding the best ways to approach rock climbing areas, the optimum line across high mountain ridges, and the best way to negotiate hiking trips through valleys and over mountains. The Fenix 6 Pro, has excellent functionality when it comes to these kinds of tasks. And synced to the Garmin Explore App, makes it easy and user-friendly to operate.
What I need (and use) most out of a GPS unit
To create a GPX track over mountain terrain
This is so easy to do with the 6 Pro: After selecting ‘hiking’ as your activity, simply push the big top right button to select the timer and push it again to start the timer. This then automatically starts the process. To simultaneously access any of the other info relevant to your current activity, just push the bottom left button and keep scrolling to get info on your elevation, total ascent and descent, time of day, compass bearings, and of course the map showing your track (which can be zoomed in and out and moved from side to side). Once you have finished your activity, push the top right button again and it will stop the timer. You can then save this track or resume. At the same time, the track and information also appear on the Garmin Explore App on your smart phone, which is handy as it has a bigger screen making it easier to see stuff. You can then export your GPX track from your phone, by email or WhatsApp, and store it in a dedicated folder for later use.
Waypoints
Waypoints are one of the most important aspects of laying down my GPX tracks. What readers of guidebooks enjoy are points of interest along the way, like good view points, great places to stop for tea or lunch, caves, swimming holes, the list goes on. Even though it is explained in the text of the book, there is nothing quite as exact as a waypoint. This pin points a place to within a few metres. Unlike my old hand-held GPS unit, waypoints using the 6 Pro synched to the Explore App is a piece of cake. Simply touch the + at the top left of your screen in the app, then ‘create waypoint’ and voila! Type in a name and off you go.
To download and follow a GPX track
The easiest way to do this is to go to https://connect.garmin.com/modern/ Here you will be able to find all the information you may possibly need on all your activities, including graphs, charts and stats that you didn’t even know existed. But on this site you can also upload any GPX tracks that you may want to use: Click the grey arrowhead on the top left corner of the page to open a detailed menu bar. Scroll down and click on training, then scroll down and click on courses. This will open up a map and also a long white window on the left. This window lists all your uploaded courses. At the bottom right you will see the word ‘import’ beneath ‘Create a Course’. Click on import. Drag your chosen GPX file into the box and click on ‘Get Started’. Select ‘Hiking’ from the drop-down menu, press ‘Continue’, and there you will see your course detailed on the map, with an elevation graph and some important information as well. Name and ‘Save New Course’. Now it will appear in your list of uploaded courses. Now select the course you want, and at the bottom left, click ‘Send to Device’, and hey presto it is now on your watch.
Going to the watch, press the top right button and scroll down to ‘Navigate’.
Click on that and scroll down to courses. Click through, and all your courses will be there. Select your desired course, then press ‘Do Course’. Your 6 Pro will tell you when you start and finish the course and will also alert you if you go off route at any time, and then tell you when you are on route again.
Create a GPX track on a map
This is also something that I use from time to time – plotting a feasible GPX trail on the map, then downloading this to your Pro 6, so you can navigate the plotted course over the chosen section of mountain. This is really handy if you are into exploring uncharted terrain.
Again, go to https://connect.garmin.com/modern/ and click through Training to Courses as for importing an established course. Now, click the ‘Create a Course’ and choose ‘Hiking’. Now you can click your track on the map, but be sure to choose the ‘Freehand’ tool. Once done, ‘Save New Course’ and send to device. Navigate the course as explained above.
Useful information at a glance
It’s great to be able to check your device and immediately (without pressing any buttons) be furnished with important and useful information. On the 6 Pro, you can choose the watch face to suit your needs. Just hard press the middle-left button, select ‘Watch Face’ and scroll through a selection of watch faces. I have set mine so my watch face shows, at a glance, my altitude, the barometric pressure, battery life, date and time.
The other ‘at a glance’ feature I found really useful is the ‘History’ widget. Hard click the middle-left button and scroll down to ‘History’. Click through ‘activities’, then scroll through your library to the desired activity. Click on that and then choose between a selection of info headings for all relevant information relating to that activity.
The Fenix 6 Pro does all of the above, but what makes the 6 Pro stand out is its ease of use (in conjunction with the Apps), the functionality of the various tasks and the exceptional battery life, which can last up to 14 days! A huge improvement on past models and also other GPS watches. There is also the Solar model, which has a solar panel built into the watch face to facilitate charging.
I have used, abused, tested and retested the Fenix 6 Pro over the last 10 weeks over uncharted terrain in the Langeberg Mountains, across multi-day ridge crossings in the Cederberg, and up some of the Western Cape’s most rugged 2000-metre peaks. It has proved to be a very reliable and truly amazing piece of equipment that no dedicated outdoor person should be without, but, as I said, it is impossible to cover everything the 6 Pro can do in a review, so I strongly urge you to play around with the unit and watch a few YouTube tutorials, particularly pertaining to your needs. There is nothing the Fenix 6 Pro can’t do. It just needs a competent operator.

Apps to download to use in conjunction with the Fenix 6 Pro
Garmin Explore: This stores all your activities and maps and gives you basic info.
Garmin Connect: Stores all your activities, but also gives an inordinate amount of information on each activity. Just about all the information you would want to take away from your hiking trip.


